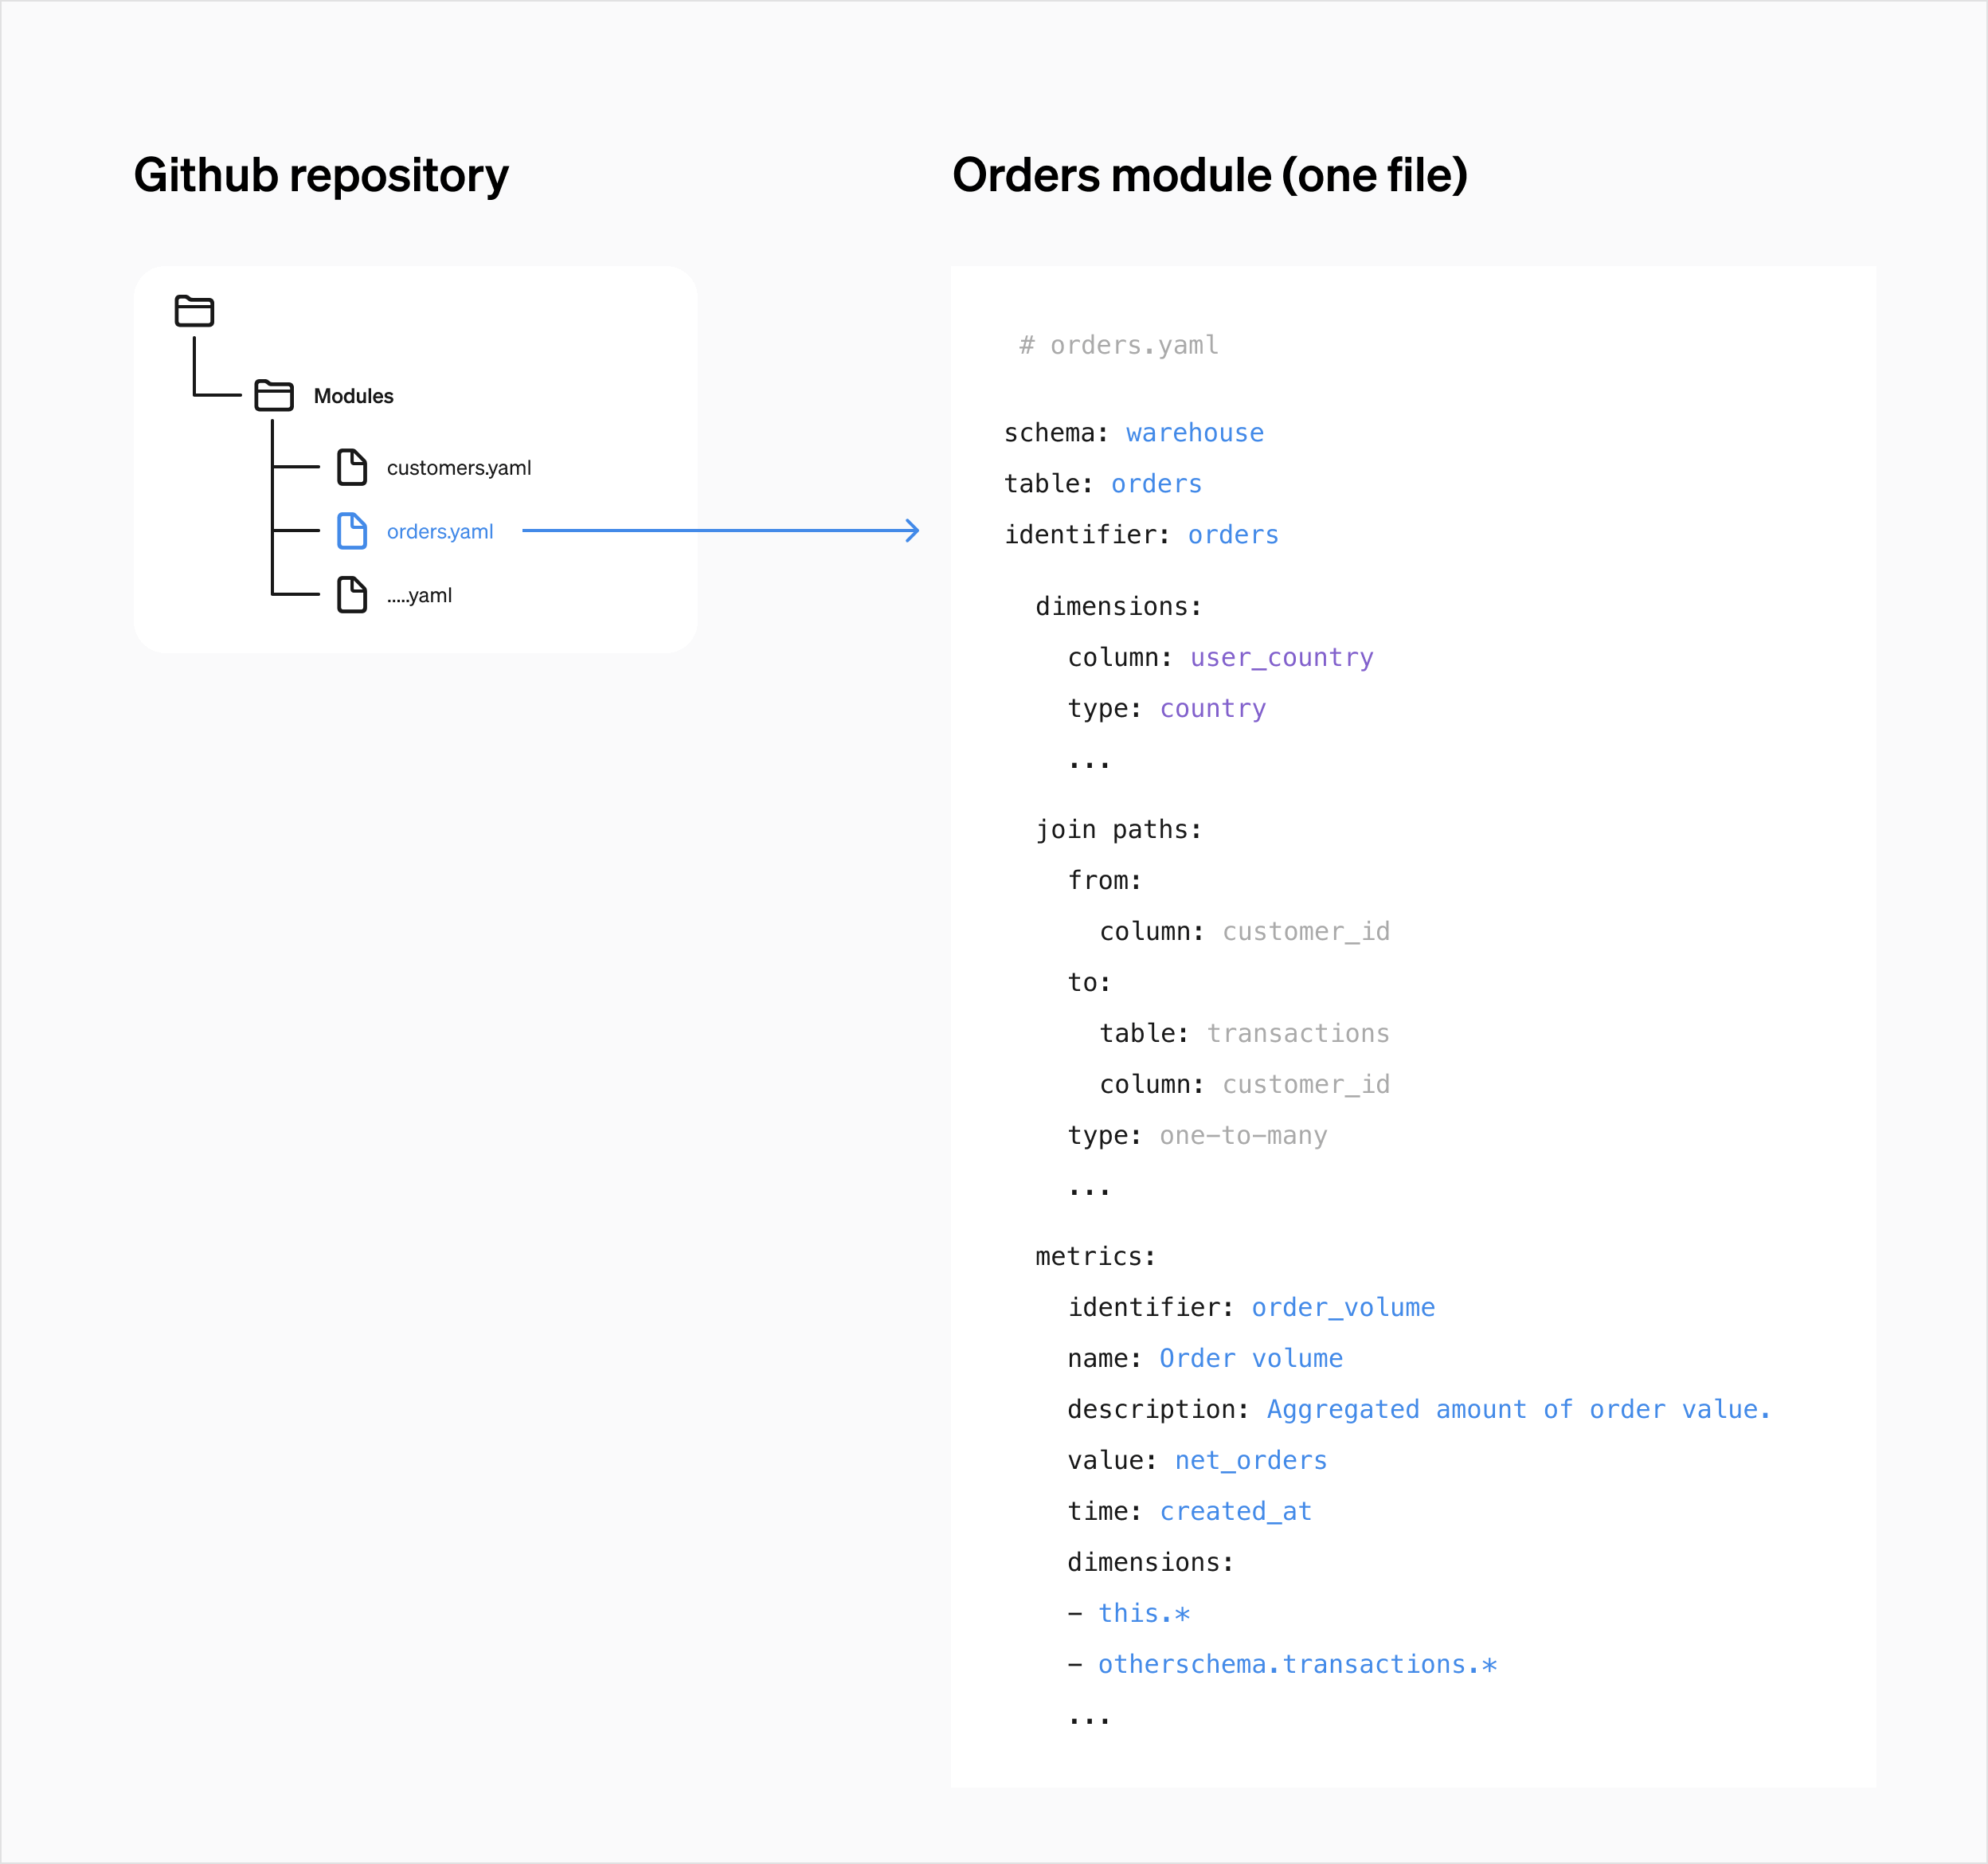
Benefits of a code-based workflow
- Collaborate using pull requests and reviews
- Version control
- Reuse and copy definitions between workspaces
- Align with your existing development workflows
How it works

YAML
Define your semantic model in YAML files.
Github
Connect your Steep workspace to a GitHub repository.
Sync
Merge pull request with new code definitions. Steep instantly updates your model.
File structure
Use one YAML file per module to keep your model organised and easy to maintain. If you're defining a target table in code, Steep identifies your targets file by its targets root element, so keep it in its own dedicated file.
Cache
Whenever a metric definition is updated, the metric cache is also refreshed.
Getting started
1. Connect a data source
Learn how to connect a data source →
2. Add your first YAML definition
3. Set up a GitHub repository
Create a dedicated repository for your semantic model.
4. Connect GitHub
- Go to Settings → Integrations and select Connect on the GitHub card.
- The first time, GitHub asks you to authorize the Steep app. After that, this step passes without a prompt.
- If your GitHub account can already reach a Steep app installation, for example one another workspace uses, pick that GitHub account. Otherwise, select Install on another GitHub account, or install the app when GitHub asks.
Who can connect
You need to be an admin of the Steep workspace. Steep connects an installation only when GitHub confirms your own GitHub account has access to it, so to connect an organization's installation you need access to at least one of its repositories. Choosing a repository works the same way: you can pick only a repository your own GitHub account can access.
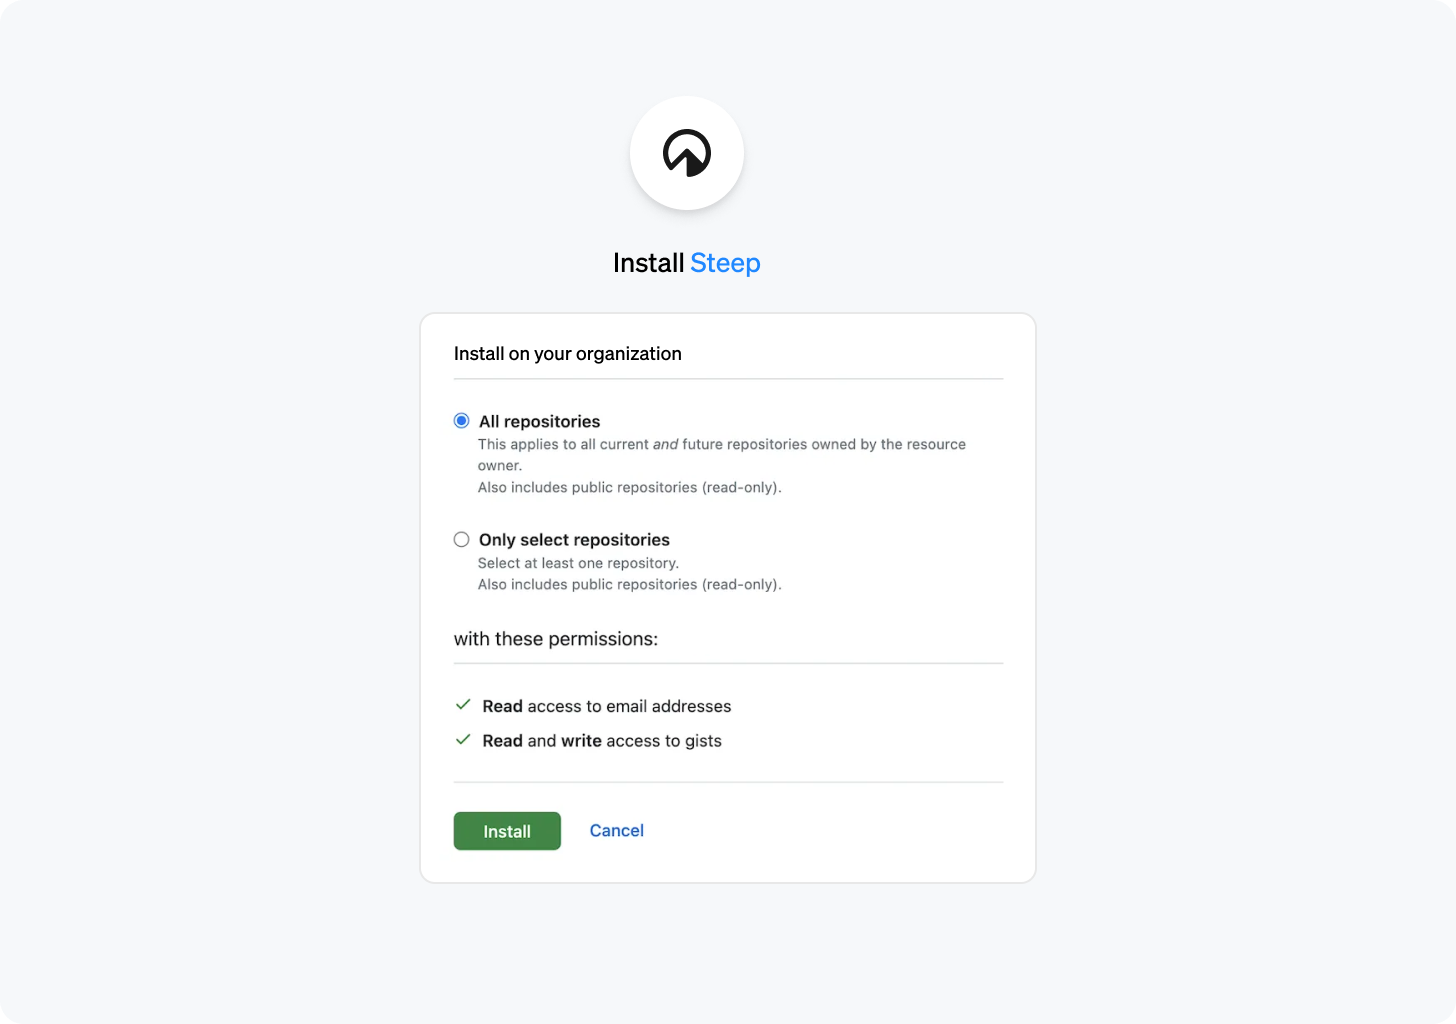
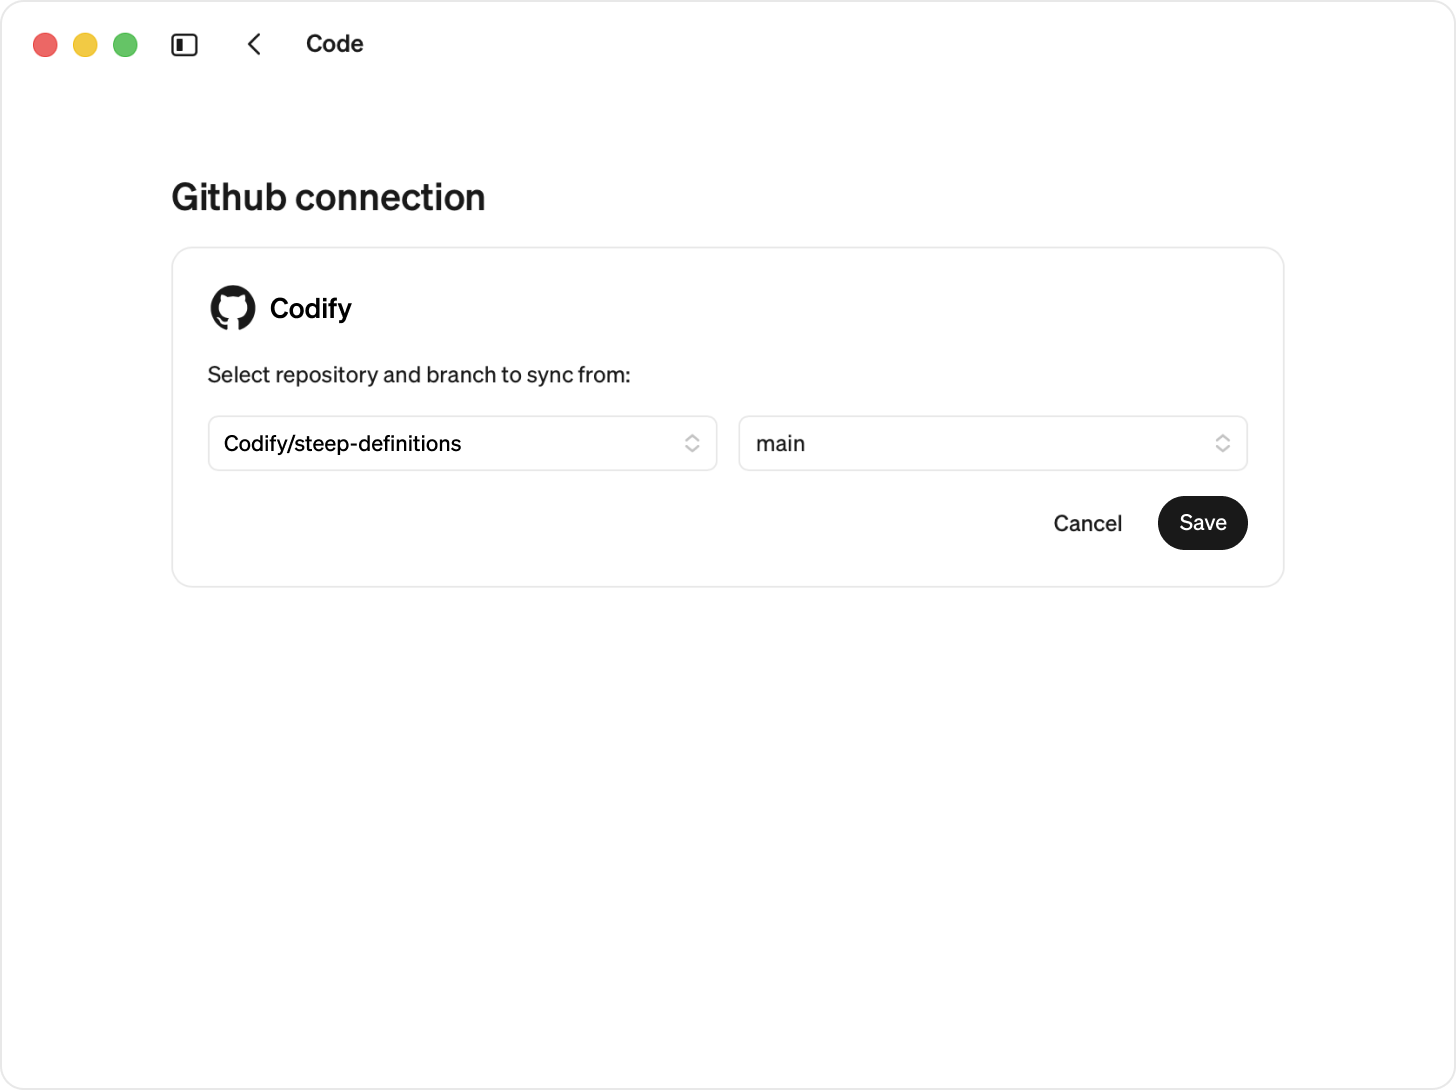
Choose a repository (one repo per workspace) and a branch (we recommend main). The list shows only the repositories both your own GitHub account and the Steep app can access. To find out which those are, Steep may take you through GitHub for a moment when you open the list. After the first time this happens without a prompt.
5. Push to main
Each push triggers Steep to parse your YAML files and update the semantic model.
6. Explore in Steep
Once synced, your metrics are ready to use in explorations and reports. Updates apply instantly.
Best Practices for a code-based workflow
- Keep YAML files modular (one module per file)
- Use meaningful metric identifiers you want to keep long term. Changing an identifier will result in metric being removed and recreated. Which risks impacting content through out Steep.
- Branch + PR workflow recommended
- Validate your YAML in your editor while you write it, using Steep's JSON Schema
Validate YAML in your editor
Steep publishes a JSON Schema for its YAML files at https://api.steep.app/v1/code/schema. It covers both module and targets files and needs no API key. Editors that support the YAML language server, such as VS Code with the Red Hat YAML extension, use it to autocomplete fields and flag mistakes before you push.
Add this line at the top of a YAML file:
# yaml-language-server: $schema=https://api.steep.app/v1/code/schema
Or, in VS Code, apply the schema to every YAML file in the repository by adding this to .vscode/settings.json. Narrow the pattern if the repository holds other YAML files, such as GitHub workflows.
{
  "yaml.schemas": {
    "https://api.steep.app/v1/code/schema": "**/*.yml"
  }
}
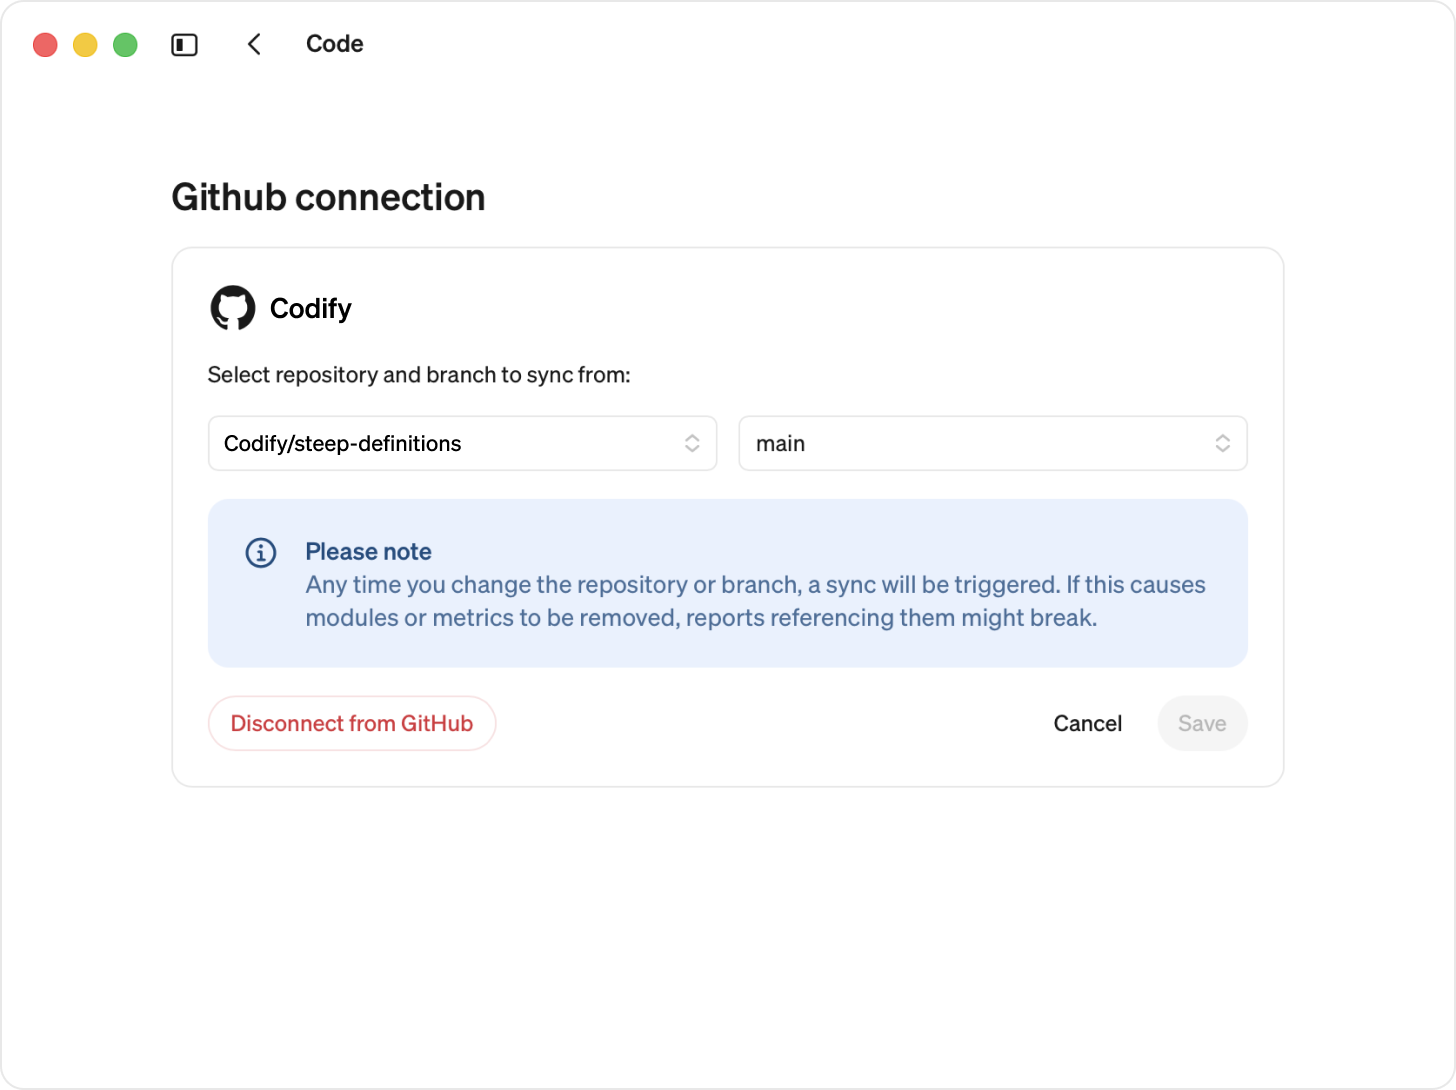
Changing repository
Please note
- When you change the repository or branch, all existing code definitions are replaced by the new definitions.
- If the new repository or branch is empty, your current modules will be converted to in app-defined modules.
Change repository or branch:
- Go to Code
- Select Edit next to your repository and branch. As when connecting, you can pick only repositories your own GitHub account can access. If the workspace syncs from one you can't access, you can switch away from it but not back.
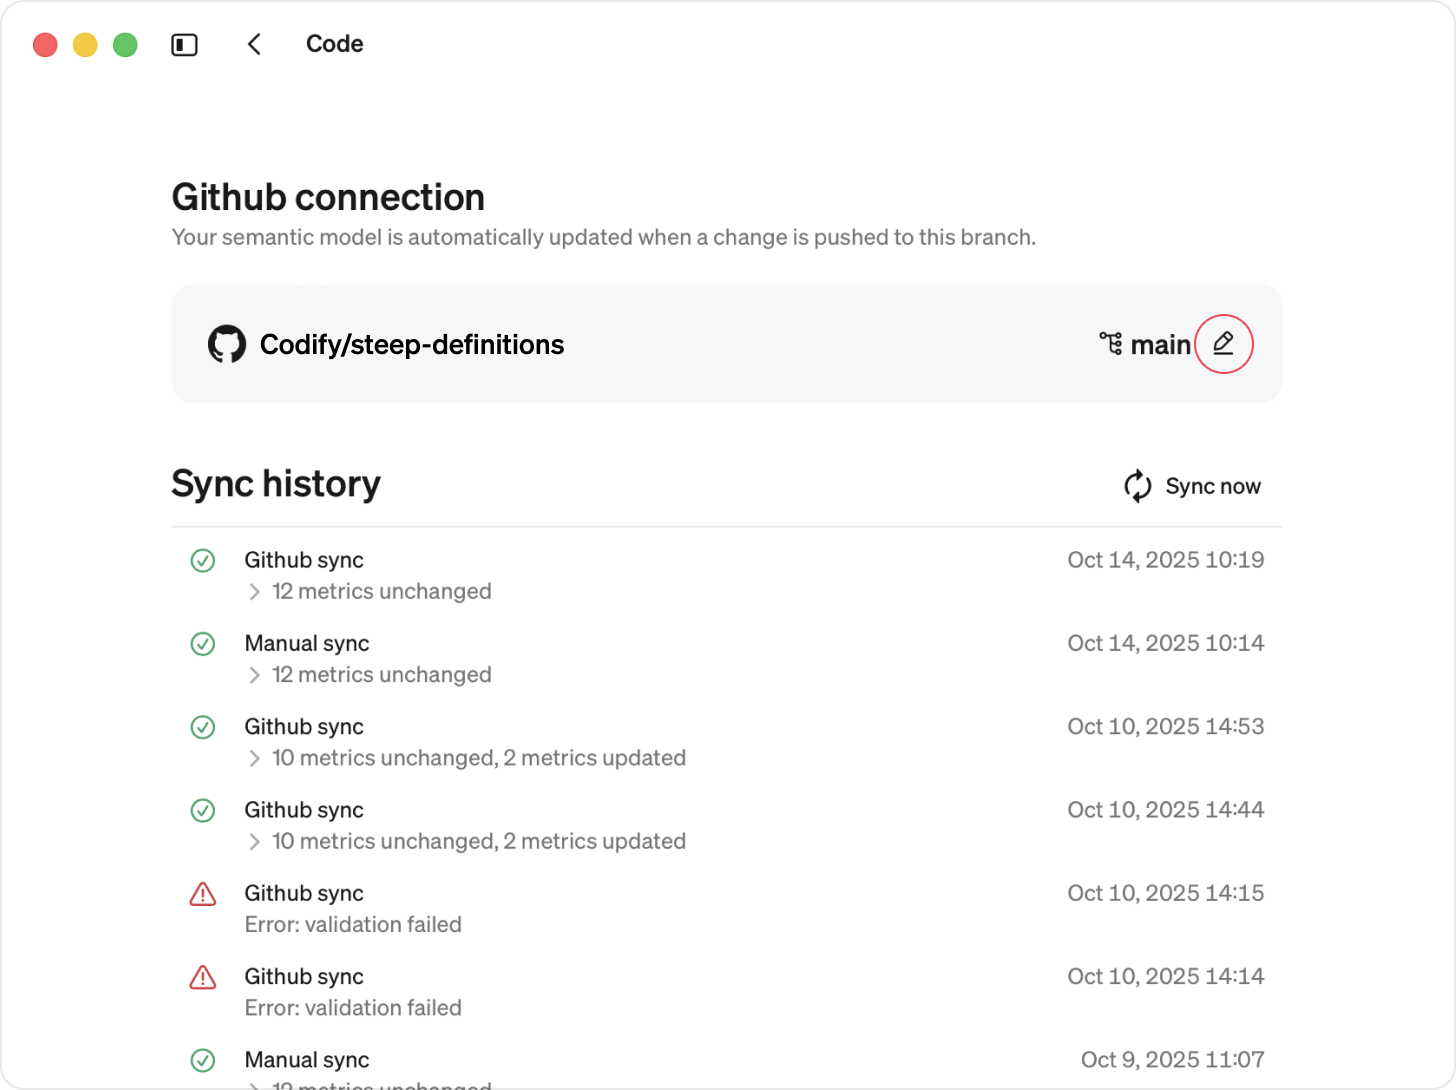
- Edit and Save
Remove a GitHub connection
When disconnecting the GitHub app, all definitions are kept and are converted into app-based definitions.
Go to Settings → Integrations
Select Disconnect on the GitHub card
The workspace is disconnected from GitHub, and all modules defined in code are converted to app-defined modules. The Steep app stays installed on GitHub, so other workspaces using it are not affected.

Combining UI and code definitions
You can mix code-defined and app-defined blocks (modules, dimensions, join paths and metrics) in the same workspace.
Use code where you need version control and structure — and the app where you want speed and flexibility.
Code-defined blocks
- Visible in the Steep app but locked for editing.
- Must be edited in code.
- You can build app-defined metrics or entities on top of code-defined modules.
App-defined blocks
- Can be edited directly in the Steep app.
- Metrics can’t be defined in code using a app-defined module.
Join paths
You can join any combination of UI and code modules. Joins can only be edited where they were created.
Conflict handling
- If a metric or module has the same identifier in both code and app → code will overwrite the app-defined metric or module
- If a join path exists in both code and the Steep app → code will overwrite the app-defined join path
Export code-definitions
Migration guide
Follow our step-by-step guide:
Modules
If you want to migrate modules define in the app to code, you can export modules one at a time.
Go to Modules and select a module.
Open the Code tab. Choose to copy or export the code definition.
This will export the entire module, including its dimensions, join paths, and metrics.

Multi-workspace setup
You can connect multiple workspaces to the same code-defined semantic model. This makes it easy to spin up new workspaces from the same definitions and manage updates for all workspaces from a single source of truth.
How to set it up
- Connect your first workspace to GitHub.
- In each additional workspace, select Connect and pick the same GitHub account. No installation ID is needed.
You can also start from GitHub: when you install the Steep app from GitHub, Steep asks which of your workspaces to connect it to.
Limitations
The following cannot yet be defined in code:
- Metrics can be defined in code except advance settings such as:
- Cache time
- Teams permissions