Workspace
Your workspace is typically equal to your organization. A large organization can use different workspaces for different companies. Workspace settings
Members
Settings → Members
All members of your workspace are found on Settings / Members. Admins can invite new members, remove members and manage roles.
Roles
Steep has two roles: admin and member.
Admin
Admins are the stewards of Steep. They make sure Steep is set up in the right way by:
- connecting databases
- defining metrics
- set up targets
- inviting new members to your workspace
- managing roles
- having access to all private teams and metrics
- deleting workspaces
Member
Members are everyone in your workspace. They can:
- explore metrics freely
- customize home screen
- set up and join teams
- invite other members to teams
- add comments
- share links and images
Teams
Teams are the primary way to get organized in Steep. A team can be a department, a project team, or any group of people really.
Every team has its own customizable space. Add all the metrics and widgets that are relevant to your team in one place, organize them in sections and let the most important ones be visible on your home screen.
Team screens makes it easy to grow with Steep and at the same time stay organized.
Set up and manage teams
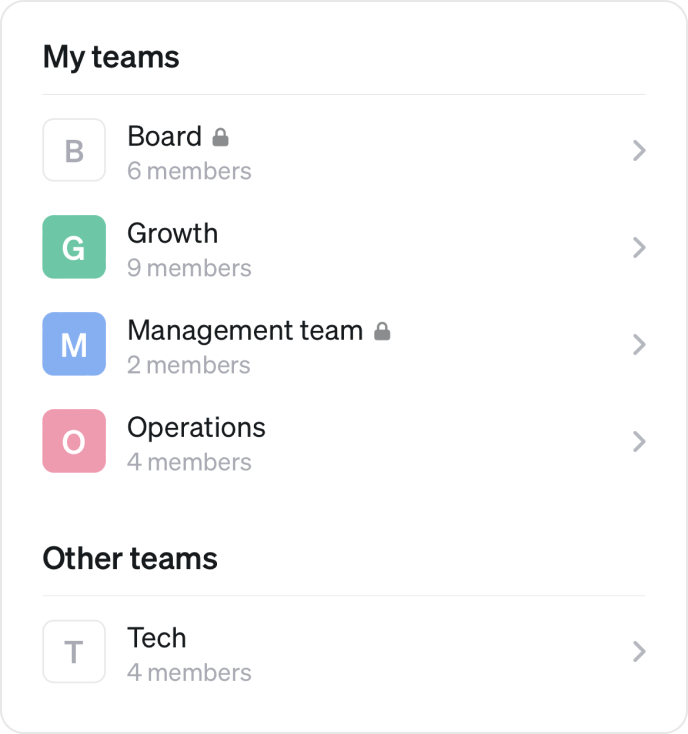
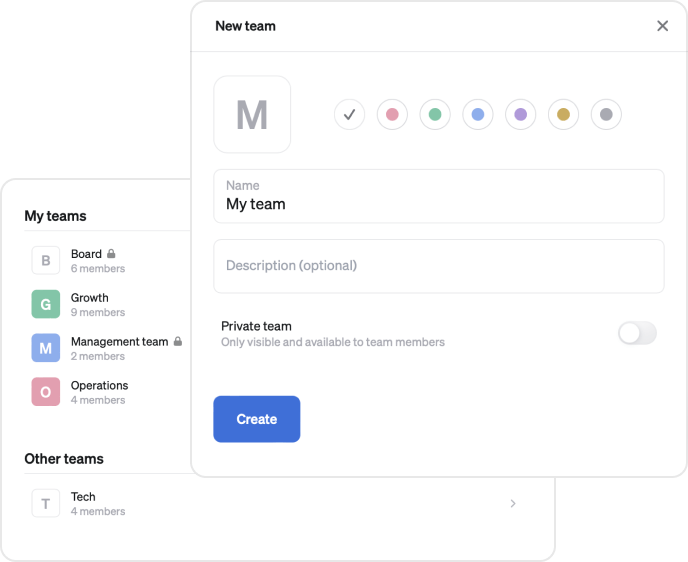
Go to Teams / All teams to add, join, edit or delete teams. Give your team a name, a description to help other members understand what this team is all about, a color to make it easier to find your team and make your team private or stay public.
Please note
Deleting a team also deletes all team screen widgets
Join a team or invite a member
All members can join any public team or invite another workspace member to join.
Only admins can invite new people to become members of a workspace.
Your teams
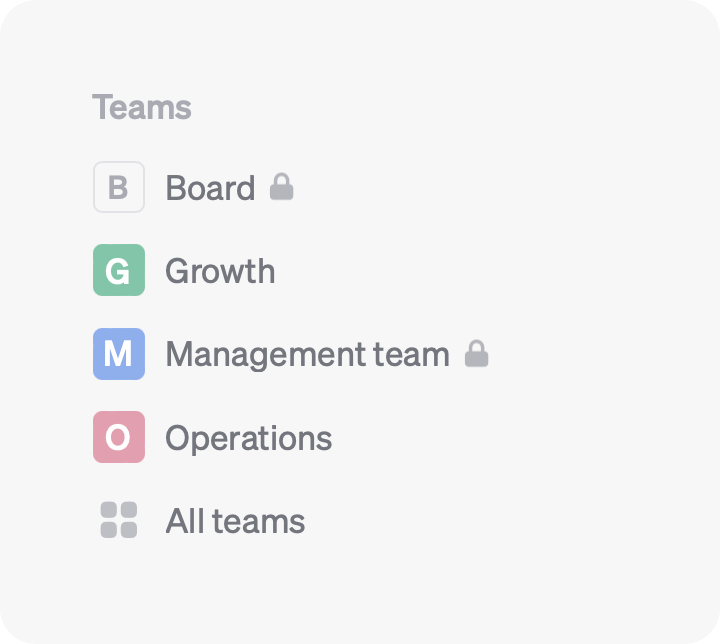
You have quick access to all teams you have joined directly from the menu or listed on top of the All teams page.
You will also find all your teams with important metric widgets on your home screen.
Team screens
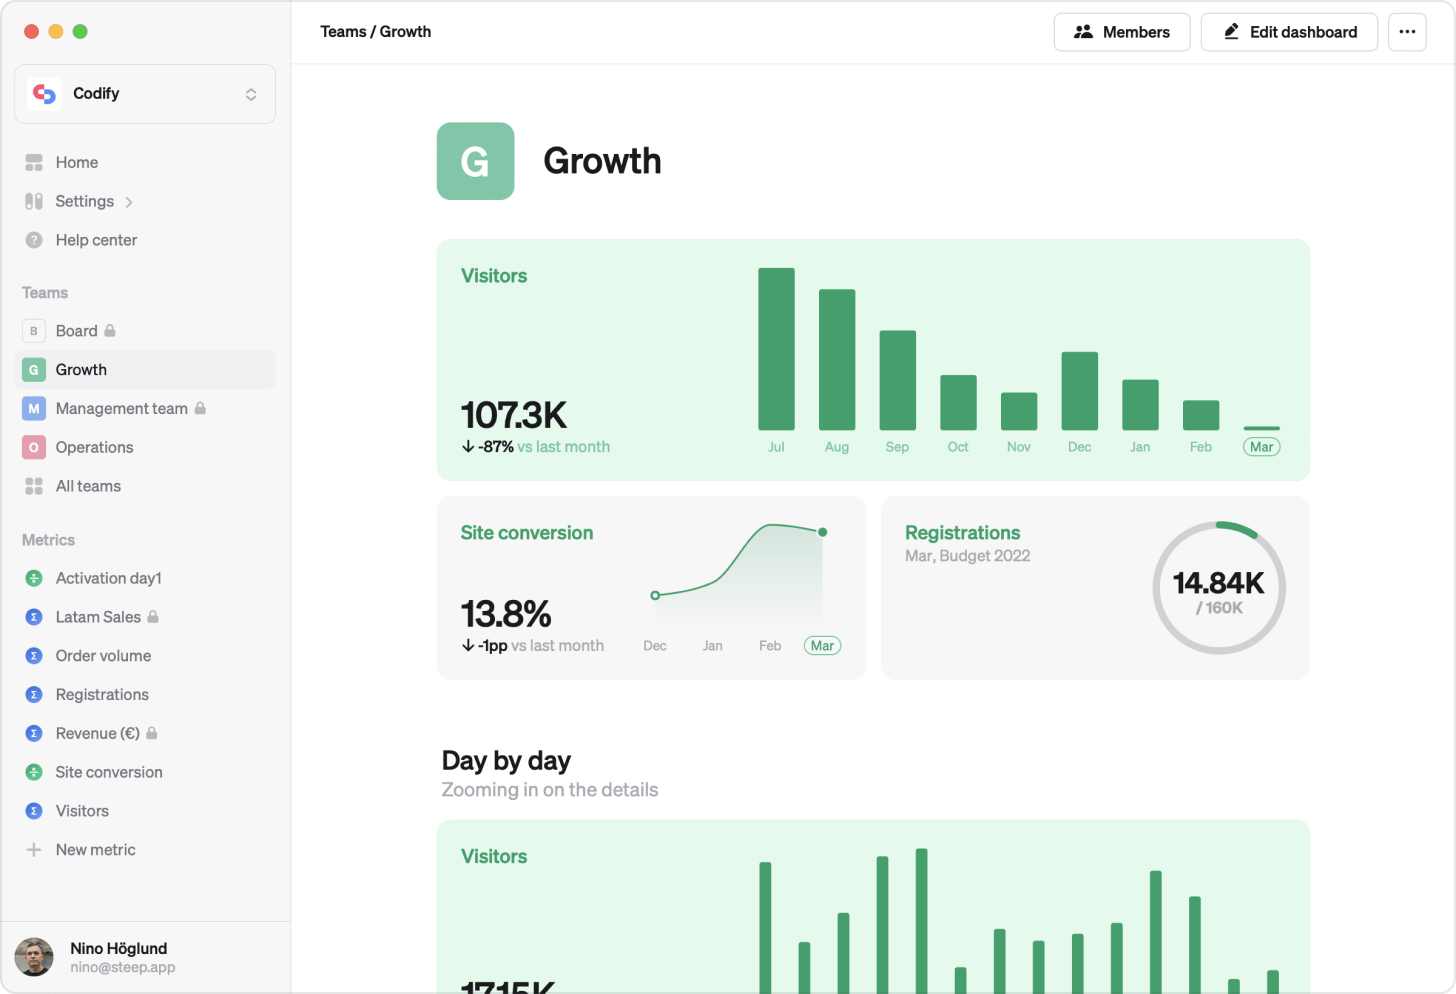
Each team has its own customizable space, built up by sections and widgets. Press Customize to add or edit sections and widgets on the team screen.
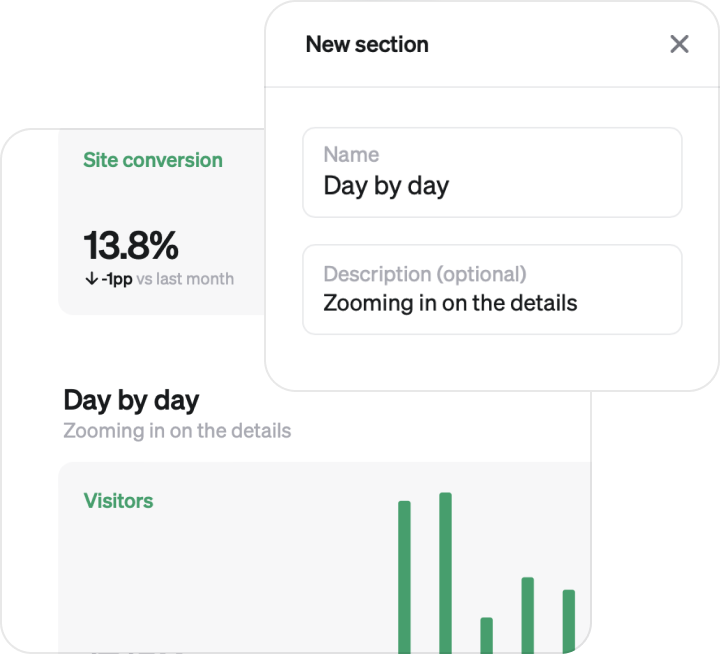
Use sections to keep your screens well structured and easy to read. A team screen can be divided into multiple sections, each with a title and a short description.
The top section of each team screen is automatically added to the dynamic home screen. This way you can add the most important team widgets on your home screen, to create a great high-level overview on the home screen. Any change in the top section of a team screen will be reflected on the home screen team section.
Widgets on teams screens are added and edited the same way as on home screen, learn how to add and edit widgets here.
For everyone
Everyone in a team can edit widgets on the team screen
Private teams and metrics
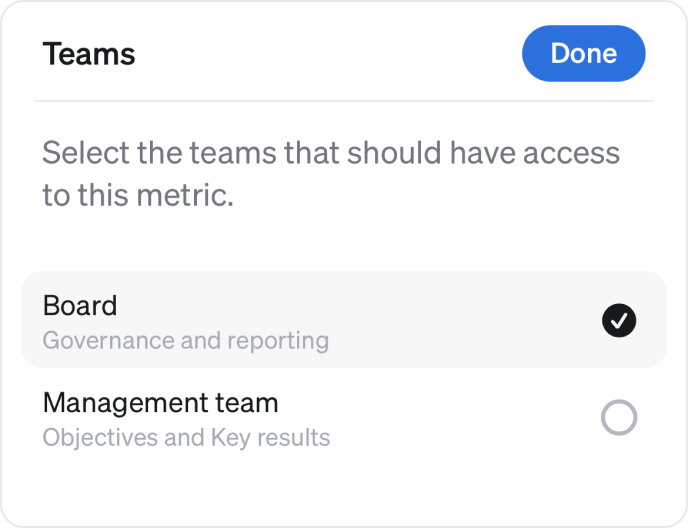
Any team can be set to private with just a toggle in the team settings. You can then turn any metric private and select which teams should have access to it.
Several private teams can be given access to the same private metric.
Private teams are only listed for team members. To join a private team you need an invite from a team member.
Private metrics can be found and viewed only by members of teams that have access to the metrics.
Widgets referencing private metrics can only be created in the section for teams with access to that private metric.
The team section on the home screen can only be seen by team members.
Only team members in the team with access to a private metric can view a shared link to a private metric.
Admins can see and join all private teams and metrics.
