Overview

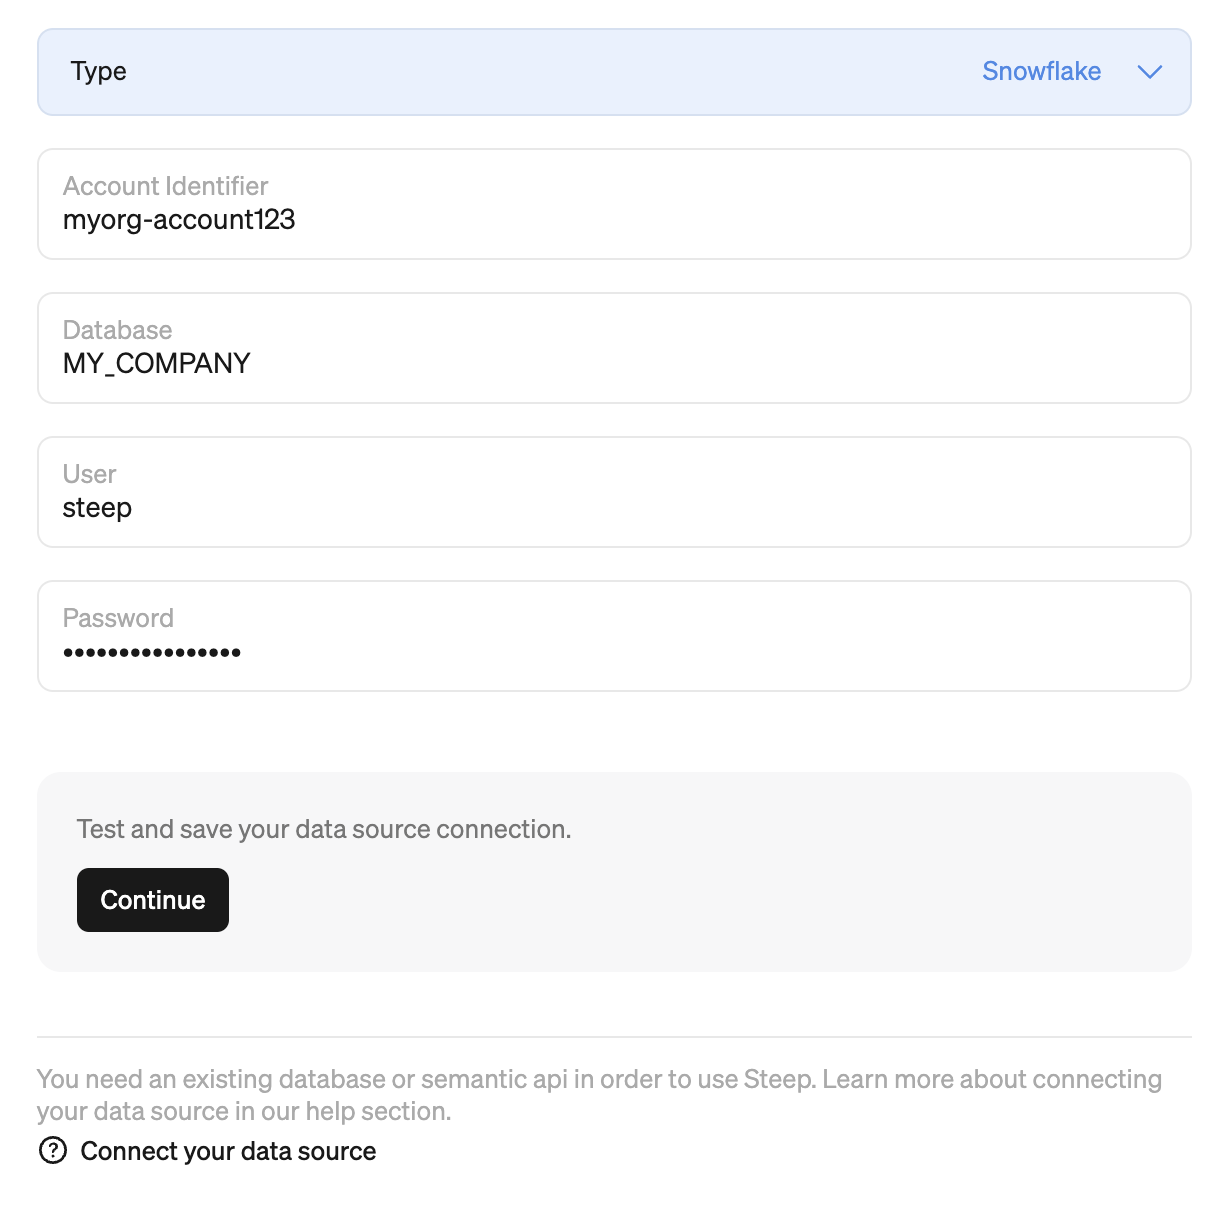
In order to connect to a Snowflake database, you will need a user account in Snowflake with permissions to access your data. Then, in the app, enter the account identifier, database, user and access token to let Steep connect to your database.
Account Identifier
Example: myorg-account123
See the Snowflake documentation for how to find your account identifier.
Database
Example: MY_COMPANY
User
Example: steep
Access token
Example: ******
Setting up a user account in Snowflake
We recommend that you create a new user and role specifically for Steep. This is best done in a worksheet in the Snowflake console. See below for a step-by-step guide.
1. New worksheet
Head to the Snowflake console, navigate to Worksheets and create a new worksheet.
2. Create role and service user
Example SQL script below. Please replace all <brackets> with your details.
-- Create Role
CREATE ROLE IF NOT EXISTS STEEP;
GRANT USAGE ON WAREHOUSE <COMPUTE_WH> TO ROLE STEEP;
GRANT USAGE ON DATABASE <MY_DATABASE> TO ROLE STEEP;
GRANT USAGE ON SCHEMA <MY_SCHEMA> TO ROLE STEEP;
GRANT SELECT ON ALL TABLES IN SCHEMA <MY_SCHEMA> TO ROLE STEEP;

-- Configure network rule and policy to allow access from Steep
-- For more information, see https://docs.snowflake.com/en/user-guide/network-policies
CREATE NETWORK RULE enable_incoming_from_steep MODE = INGRESS TYPE = IPV4 VALUE_LIST = ('34.78.69.173/32');
CREATE NETWORK POLICY allow_steep_connection
  ALLOWED_NETWORK_RULE_LIST = ('enable_incoming_from_steep')
  COMMENT = 'Allow connections from Steep application';

-- Create User
CREATE USER IF NOT EXISTS steep DEFAULT_ROLE = STEEP TYPE = SERVICE;
GRANT ROLE STEEP TO USER steep;
ALTER USER steep SET DEFAULT_WAREHOUSE = <COMPUTE_WH>;
ALTER USER steep SET NETWORK_POLICY = allow_steep_connection;
ALTER USER steep ADD PROGRAMMATIC ACCESS TOKEN steep_programmatic_access_token
    ROLE_RESTRICTION = 'STEEP'
    DAYS_TO_EXPIRY = 365; --This will create a token that is valid for 365 days
The last command will generate the access token, it will be the only time you can see it. Make sure to copy it and store it in a safe place. If you lose it, you will need to revoke the token and create a new one.
3. Enter credentials in Steep
Copy the user and access token to the corresponding fields in the Steep database form. Test the connection to make sure things are working fine.
Migrating a workspace with a password to a programmatic access token
To migrate a Steep workspace from a user with password-based access to a user with a programmatic access token create a new service user and enter those credentials in Steep by following the steps outlined above.
Troubleshooting
I could not connect to my database. I get the following error:
Incoming request with IP/Token XXX.XXX.XXX.XXX is not allowed to access Snowflake. Contact your account administrator. For more information about this error, go to https://community.snowflake.com/s/ip-xxxxxxxxxxxx-is-not-allowed-to-access.
Make sure you have created the network rule and policy to allow access from Steep and that the IP you added to your rule match Steep's. See the example script above.
I could successfully connect my database but when fetching tables I get the following error:
No active warehouse selected in the current session. Select an active warehouse with the 'use warehouse' command.
Make sure the user used has a default warehouse set as described above, and that it is the correct one. Also double check that the role has usage granted on that same warehouse.
I could successfully connect my database but when fetching tables I get the following error:
Cannot perform SELECT. This session does not have a current database. Call 'USE DATABASE', or use a qualified name.
The database you entered in the data source configuration cannot be found. Make sure the database name entered is the correct one. Make sure the user has DEFAULT_ROLE set as in example script above. Make sure the role used has the correct grants on warehouse, database and schema.